Guest Account Request
Department administrators can use this guide as a reference for requesting a Guest ID and adding your new user to URcompass. You can reference the steps below or download this guide for your records.
Step 1: Requesting a Guest ID
Visit the Guest Account System to get started.
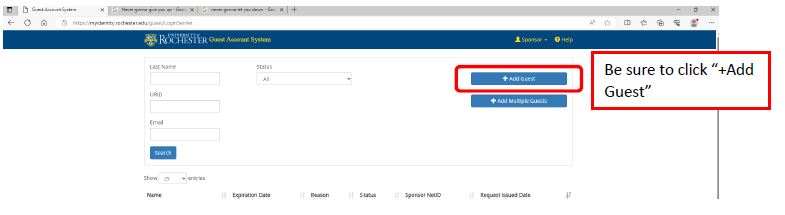
First, click the “+Add Guest” button.
On the Sponsor Agreement page, click the “I Agree” button.

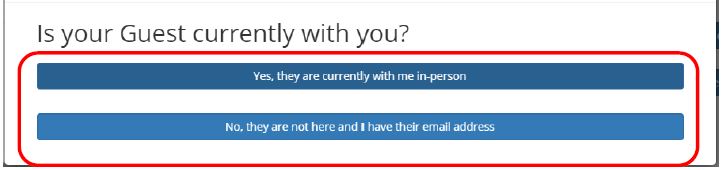
When the “Is your Guest currently with you” question comes up, please select the correct option.
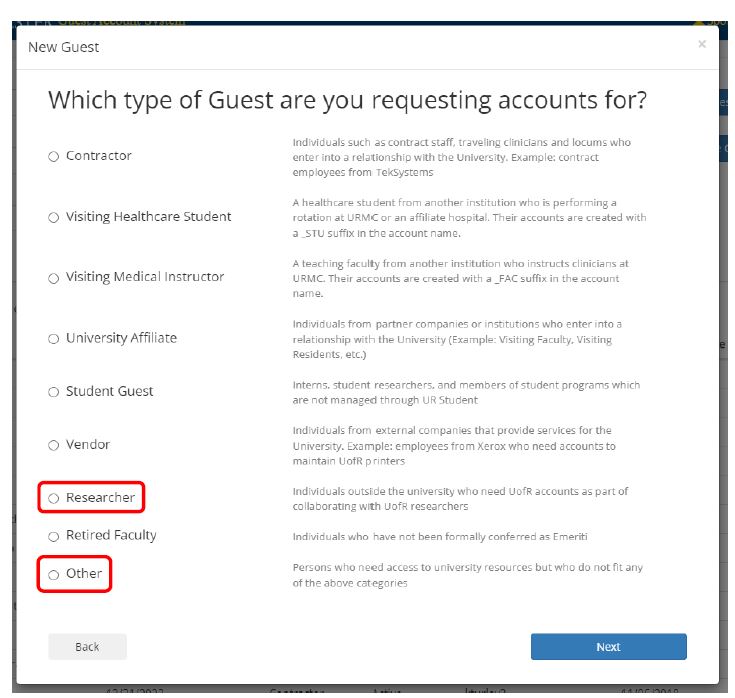
In the “Which type of Guest are you requesting accounts for” screen, select either “Researcher” or “Other” depending on your situation.
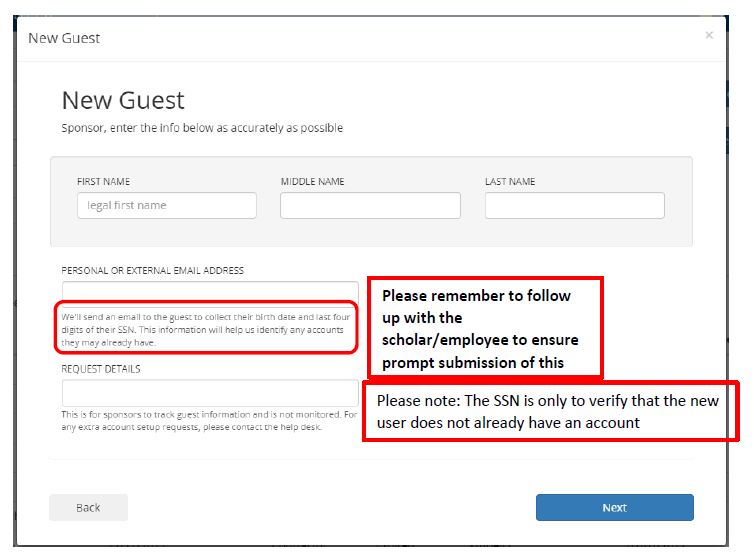
Next, enter the information on the New Guest screen as accurately as possible. Upon submission, we’ll send an email to the guest to collect their birth date and last four digits of their SSN (if applicable). This information will help us identify any accounts they may already have.
- Please remember to follow up with the scholar/employee to ensure their prompt submission.
- Please note: The SSN is only to verify that the new user does not already have an account.
After you’ve submitted, expect to have a result within 24 hours.
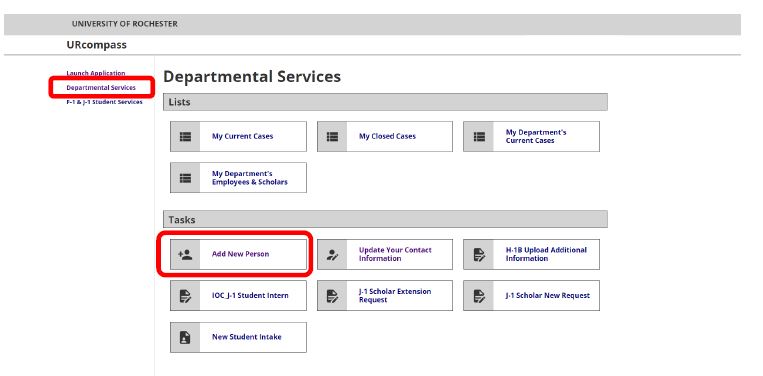
Step two: Adding your New User to URcompass
After you’ve logged into URcompass and navigated to the Departmental Services page, click on the Add New Person button under Tasks.
Please fill out all of the necessary fields (marked with an asterisk). Please ensure that information is correct before continuing.
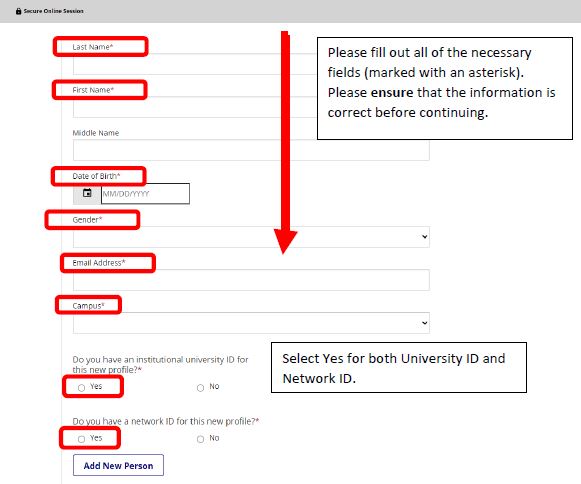
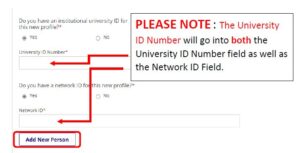
Be sure to select “Yes” for the following two questions, and enter the University ID into both of these fields in the text boxes that appear:
- Do you have an institutional university ID for this new profile?
- Do you have a network ID for this new profile?
Then, you’ll be able to click the “Add New Person” button to submit the form.